How to Set Up an Ooma Phone: Easy Step-by-Step Guide
Introduction
Setting up an Ooma phone can significantly enhance your home or small business communication. Ooma is renowned for its high-quality Voice over IP (VoIP) services, offering crystal-clear calls and numerous features, such as call blocking and conferencing. In this guide, we’ll walk you through every step of the process, from unboxing your Ooma device to making your first call.

What You Need to Get Started
Before diving into the setup, it’s important to gather all the necessary components. You’ll need:
- An Ooma Telo or other Ooma device
- A broadband internet connection
- A standard phone to connect to the Ooma device
- Your computer or mobile device for initial setup
- The activation code from your Ooma kit
Having these ready will ensure a smoother and quicker setup process. With all necessary components gathered, let’s move on to setting up your Ooma account.
Setting Up Your Ooma Account
Setting up your Ooma account is the first crucial step before you can use the device. Follow these steps:
- Visit the Ooma activation page: Open your web browser and go to the Ooma activation page (www.ooma.com/activate).
- Enter your activation code: This code can be found in your Ooma package. Enter it into the provided field on the activation page.
- Provide your details: Fill in your personal information, including your name, address, and email. This information is necessary for emergency services (E911) and other functionalities.
- Create a log-in: Set up a username and password for your Ooma account. This will allow you to manage your settings and monitor your Ooma services online.
- Choose a phone number: You can choose a new phone number or transfer your existing number. If you opt for the latter, there might be an additional fee.
After setting up your account, you’ll be prompted to connect your Ooma device.

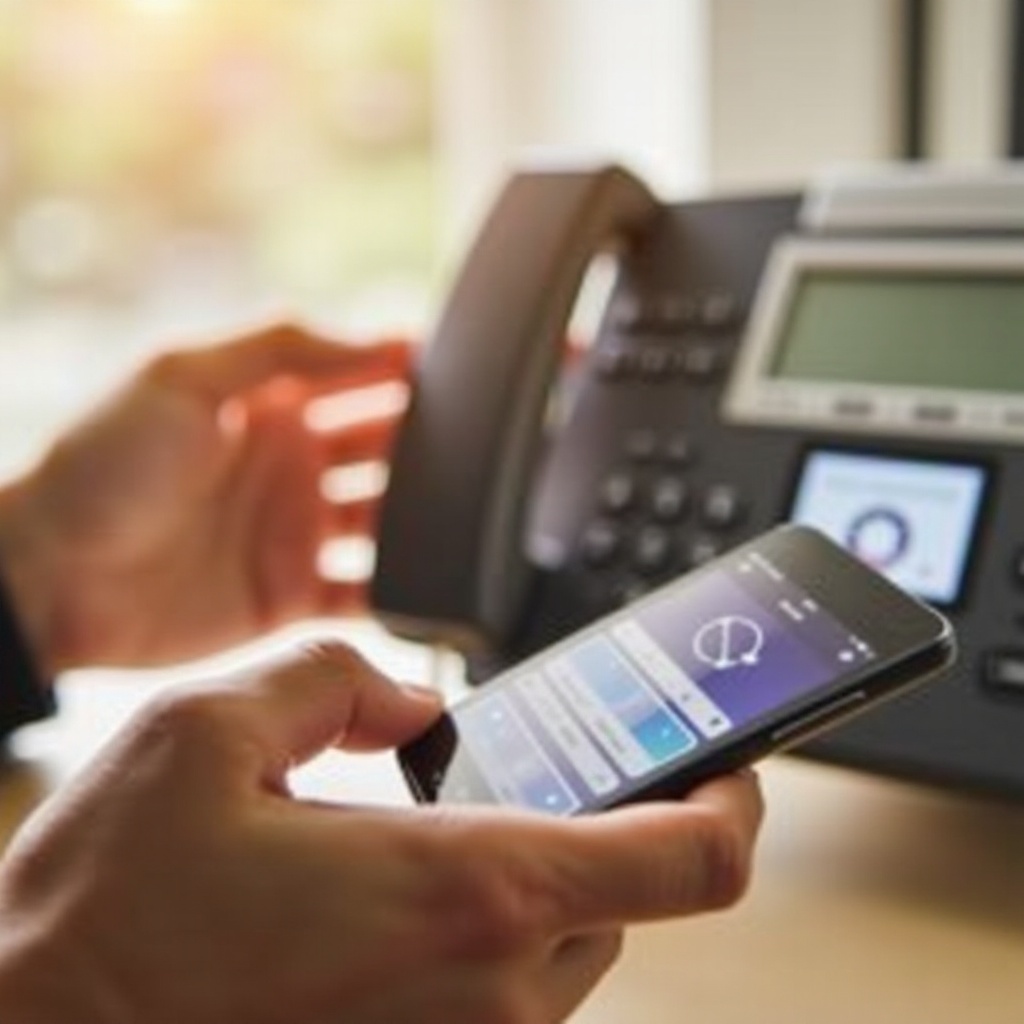
Connecting Your Ooma Device
Connecting the Ooma device is straightforward. Here’s how:
- Unpack your Ooma device: Remove the device from its packaging and place it near your router.
- Connect to the internet: Using the Ethernet cable provided, connect one end to the internet port on your Ooma device and the other end to an open port on your router.
- Power up: Plug the power adapter into the Ooma device and the other end into a power outlet. Turn the device on.
- Connect to your phone: Using a phone cable, connect your standard phone to the phone port on the Ooma device.
- Wait for the lights: The Ooma device will automatically update its software and connect to the Ooma network. This may take a few minutes. Once the device displays the blue status light, you’re ready for the next steps.
With your device connected, you can now sync it with your cell phone for added functionality.
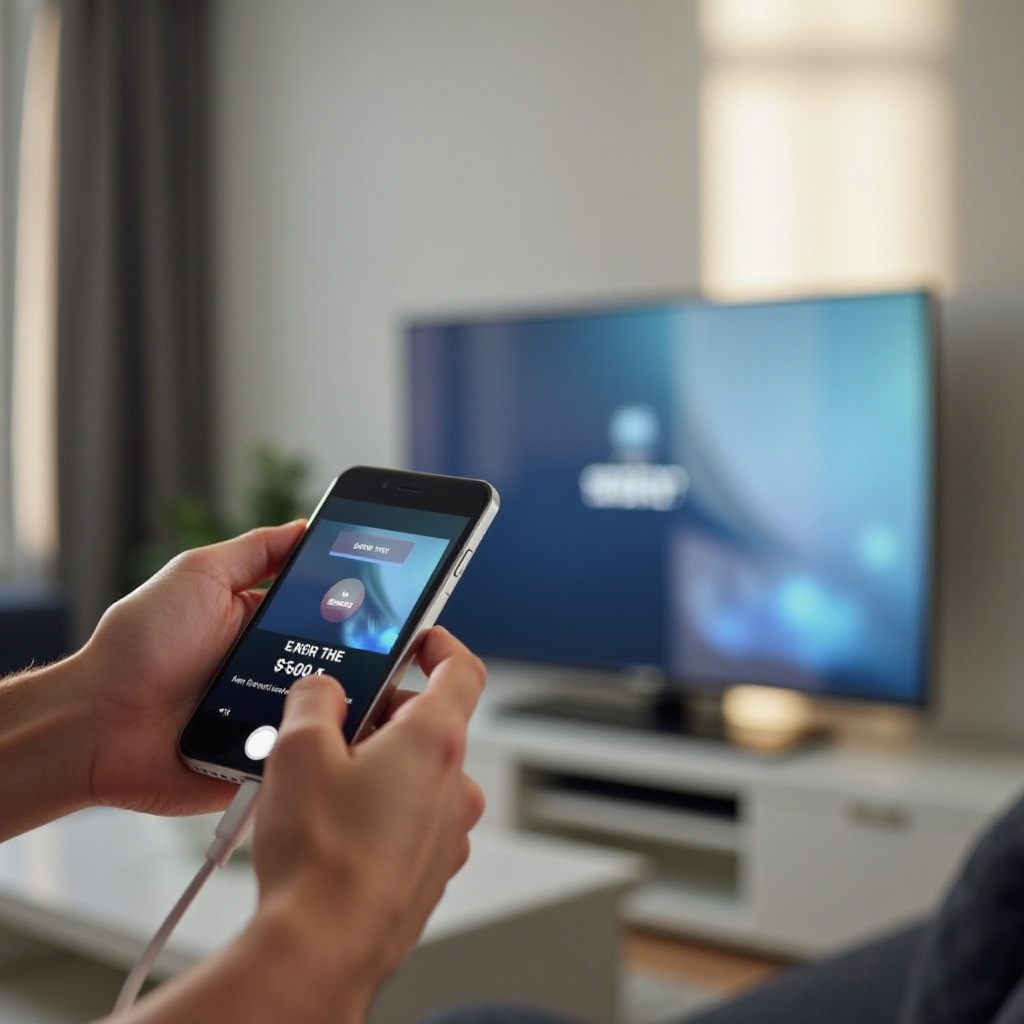
Syncing Ooma with Your Cell Phone
Syncing your Ooma with your cell phone adds convenience and ensures you never miss important calls. To sync your devices:
- Download the Ooma app: Go to the App Store or Google Play Store and download the Ooma app.
- Login: Open the app and log in using the username and password you created during the account setup.
- Sync your contacts: Follow the on-screen instructions to sync your phone contacts with Ooma. This will allow you to see caller ID and make calls using your Ooma number through the app.
- Enable notifications: Customize your notification settings to receive alerts for missed calls and voicemails directly on your cell phone.
Once your cell phone is synced, it’s time to configure the settings of your Ooma device for a more personalized experience.
Configuring Ooma Settings
Configuring your Ooma settings allows you to tailor the device to your preferences. Here are some key settings to consider:
- Voicemail: Set up your voicemail greeting and notification preferences by accessing your Ooma account online or through the mobile app.
- Call blocking: Enable features such as call blocking to prevent unwanted calls from telemarketers and scammers.
- Do Not Disturb: Schedule Do Not Disturb times for when you don’t want to be interrupted by phone calls.
- Call forwarding: Set up call forwarding to another number, such as your cell phone, so you can answer calls when you’re on the go.
- 9-1-1 alerts: Ensure your address is up to date for accurate 9-1-1 emergency services.
By configuring these settings, you’ll enhance the usability and security of your Ooma service. Now that the essential settings are in place, it’s time to test your setup to ensure everything is functioning correctly.
Testing Your Setup
After configuring your settings, it’s crucial to test your setup to ensure everything is working correctly. Here’s how:
- Make a call: Use your connected phone to make a test call to a friend or family member. Verify the call’s clarity and that your caller ID information is displayed correctly.
- Receive a call: Ask someone to call your Ooma number to ensure that incoming calls are working properly.
- Voicemail: Leave a voicemail and check it both through the Ooma phone and the mobile app to ensure you receive notifications.
Confirming that these functions work properly will give you peace of mind that your Ooma service is ready to use.
Tips for Optimal Use
To get the most out of your Ooma phone, consider these tips:
- Regular updates: Keep your Ooma device firmware updated to benefit from the latest features and security improvements.
- Battery backup: If you have a battery backup option for your home network, consider connecting it to your Ooma device to maintain service during power outages.
- Network quality: Ensure you have a robust internet connection, as call quality is heavily dependent on it.
- Explore features: Familiarize yourself with advanced Ooma features, such as call screening and multi-ring to expand the device’s functionality.
These tips will enhance your experience and ensure you get the most out of your Ooma phone service.
Conclusion
Setting up an Ooma phone doesn’t have to be daunting. By following this step-by-step guide, you’ll be able to connect and configure your device efficiently, ensuring optimal performance and convenience. Whether you’re using Ooma for home or business, its comprehensive features and excellent call quality will undoubtedly meet your communication needs.
Frequently Asked Questions
What do I do if my Ooma phone setup is not working?
If your Ooma phone setup isn’t working, check your internet connection and cables, restart the device, and refer to the Ooma support page for troubleshooting steps.
Can I use my existing phone number with Ooma?
Yes, you can transfer your existing phone number to Ooma. This process, known as porting, may incur an additional fee, but it allows you to retain your number.
Is there a monthly fee for using Ooma services?
Ooma offers various service plans. While basic service is free after purchasing the device, premium services with additional features do incur a monthly fee.