How to Replace Your Laptop Drive with an SSD: A Comprehensive Guide
Introduction
Upgrading your laptop from a hard drive to a solid-state drive (SSD) is one of the most rewarding enhancements regarding performance and speed. While it might initially appear complex, this guide will simplify the process, making it accessible even to those with basic technical know-how. By carefully following this detailed guide, you will not only learn how to replace your existing hard drive but also understand the benefits and maintenance practices that will keep your SSD running at its best.

Understanding the Benefits of SSDs
Before embarking on the replacement process, it’s important to grasp why SSDs are increasingly favored over traditional hard disk drives (HDDs). SSDs lack moving parts, leading to superior data access speeds and reliability. This translates into faster boot times and quicker application loads, resulting in an overall smoother computing experience. Moreover, SSDs consume less power, enhancing your laptop’s battery life, and are more robust, adding protection against data loss from physical impacts.
The switch from HDD to SSD is not only about speed; it’s a strategic upgrade for reliability. SSDs’ advanced technology minimizes the risks associated with mechanical failure, a common issue with traditional HDDs. Enhanced durability also makes them a preferred choice for users seeking long-term data integrity, especially those who frequently transport their laptops.
Preparing for the Upgrade
Preparation is the cornerstone of a successful SSD installation. Begin by verifying that your laptop is compatible with SSD upgrades; this information usually can be found in the user manual or on the manufacturer’s website. Following confirmation of compatibility, assemble the necessary tools such as a fitting screwdriver set that will enable you to access the drive bay. Equally vital is selecting the right SSD—consider storage capacity, form factor, and interface to ensure it aligns with your laptop’s requirements.
Backing up your existing data is a critical step that cannot be overlooked. Use an external hard drive or cloud storage service to safeguard your data, ensuring that vital information is preserved during the transition. This step guarantees that even in the face of unexpected mishaps, your files remain secure, allowing you to focus on the installation process with peace of mind.

Step-by-Step Guide to Replacing Your Laptop Hard Drive with an SSD
Necessary Tools and Equipment
- A compatible SSD.
- A screwdriver set.
- An external storage device for backups.
- Any cables or adapters required for installation.
Backing Up Your Data
- Utilize backup software or your system’s built-in tool to create a full copy of your current drive.
- For safekeeping, ensure these backups are stored on an external device or a secure cloud service.
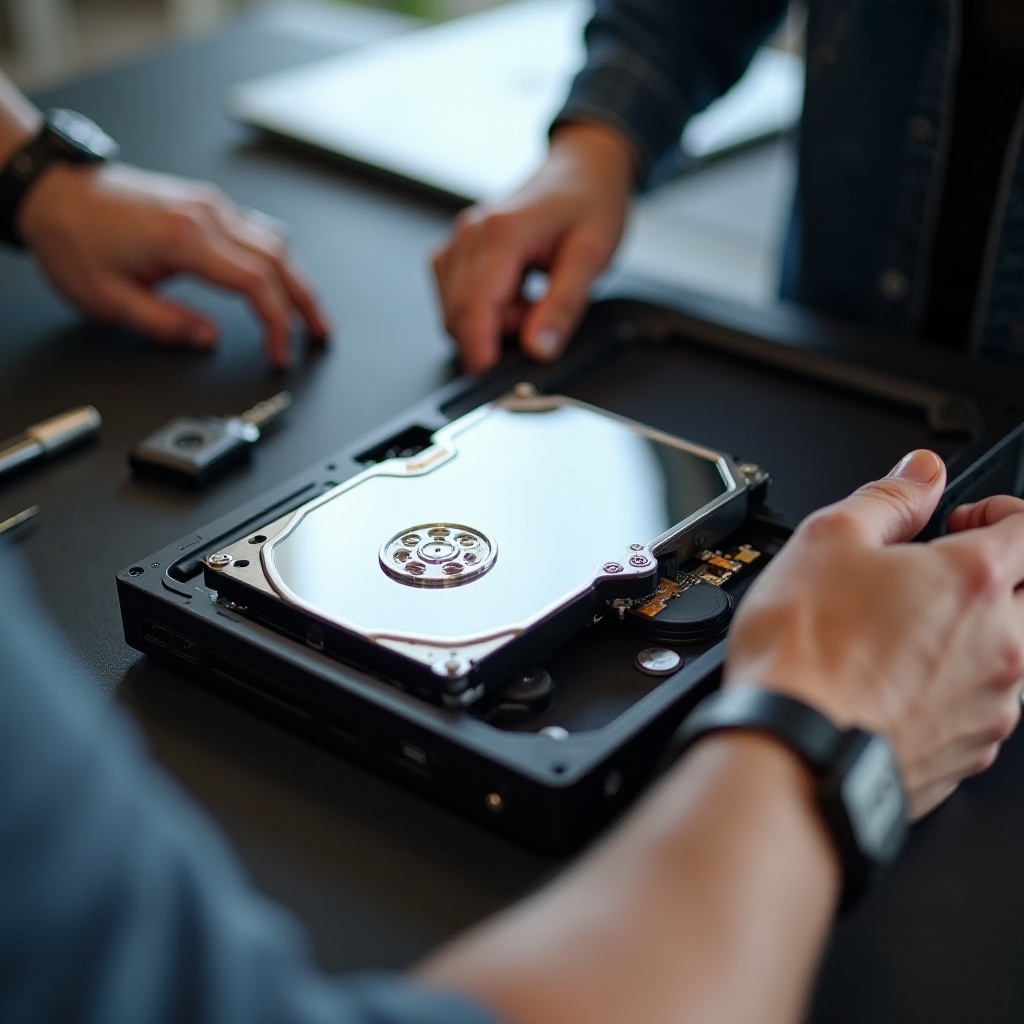
Removing the Old Hard Drive
- Ensure your laptop is turned off and all cables are disconnected.
- Use a screwdriver to carefully remove the back panel.
- Find the hard drive within and gently disconnect it.
- Remove the old drive cautiously, noting its orientation.
Installing the New SSD
- Install the new SSD into the bay, ensuring a secure connection to the interface.
- Fit the drive snugly in its place to prevent any movement.
- Reattach screws or clamps that held the previous drive securely.
Securing Your Laptop Back Together
- Replace the laptop’s back panel securely.
- Use the screwdriver to tighten all screws snugly.
- Reconnect all necessary cables and power your laptop back on.
Post-Installation Essentials
After securing the new drive, the decision lies between cloning your old drive or performing a fresh OS installation. Cloning retains all your software and settings, saving setup time. Conversely, a fresh installation can enhance performance by eradicating outdated files and potential malware.
To ensure your system recognizes the new SSD, update necessary drivers by visiting the laptop manufacturer’s website. It’s also advisable to reinstall or update vital software to maintain compatibility and functionality.
Maximizing and Maintaining SSD Performance
Optimization Tips
- Enable TRIM support on your SSD to improve performance longevity.
- Minimize startup programs to enhance boot speed.
- Use specialized SSD-friendly tools for routine maintenance.
Maintenance Practices
- Avoid defragmenting SSDs; it’s unnecessary and can cause wear.
- Keep your operating system and software regularly updated.
- Monitor your SSD’s health with dedicated SSD management software.
Troubleshooting Common Issues
Occasionally, your laptop may not initially recognize the new SSD. Check all cables and connectors for security, and verify your laptop’s firmware is current. Should issues persist, consider professional consultation for comprehensive diagnostics.
Conclusion
By following this guide, upgrading your laptop with an SSD will improve its performance, making it faster and more dependable. Stick to the outlined post-installation strategies to fully benefit from the improved speed and efficiency your new SSD offers.
Frequently Asked Questions
What should I do if my SSD isn’t recognized?
Ensure all physical connections are secure. Check compatibility with the laptop’s BIOS or firmware and update drivers if necessary.
Can I use the old hard drive as an external storage device?
Yes, you can repurpose your old HDD as external storage using a compatible external enclosure for USB or other connections.
How do I check if my laptop supports SSD?
Consult the laptop’s user manual or manufacturer’s website for specifications. Alternatively, inspect the drive bay or open the back panel for SSD compatibility.