How to Fix HP Laptop Screen: A Comprehensive Guide
Introduction
HP laptop screens can suffer from a variety of issues that may disrupt your productivity or entertainment. From flickering displays to full blackouts, these problems can be frustrating. Fortunately, with the right tools and instructions, many screen issues are fixable without professional help. This guide provides a straightforward tutorial for diagnosing and repairing your HP laptop screen, helping you get back to seamless computing.
Identifying Common HP Laptop Screen Issues
Before you begin the repair, it’s important to accurately identify the problem with your screen. Common symptoms include flickering, vertical lines, dead pixels, or whole sections of the screen that do not display. You may also encounter complete blackouts or visible physical damage like cracks or scratches. Differentiating between these issues helps determine whether they stem from software or hardware faults.
Once you’ve identified the symptoms, inspect the screen closely for any visible damage. In cases with no apparent physical damage, the issue could be related to an internal connection or software settings. A clear diagnosis simplifies the repair process, allowing you to focus on the right solution.
Safety Precautions Before Starting Screen Repair
Prioritizing safety for both you and your laptop is essential. Start by powering down your laptop and disconnecting it from any power source. Carefully remove the battery to avoid electrical hazards or accidental damage during the repair. To protect against static electricity, use an anti-static wrist strap to prevent unintentional harm to sensitive components.
Establish a clean and well-lit workspace to aid in the repair process. Ample lighting and organization are essential for efficient and careful repair, significantly lowering the risk of mistakes.
Tools and Materials You’ll Need
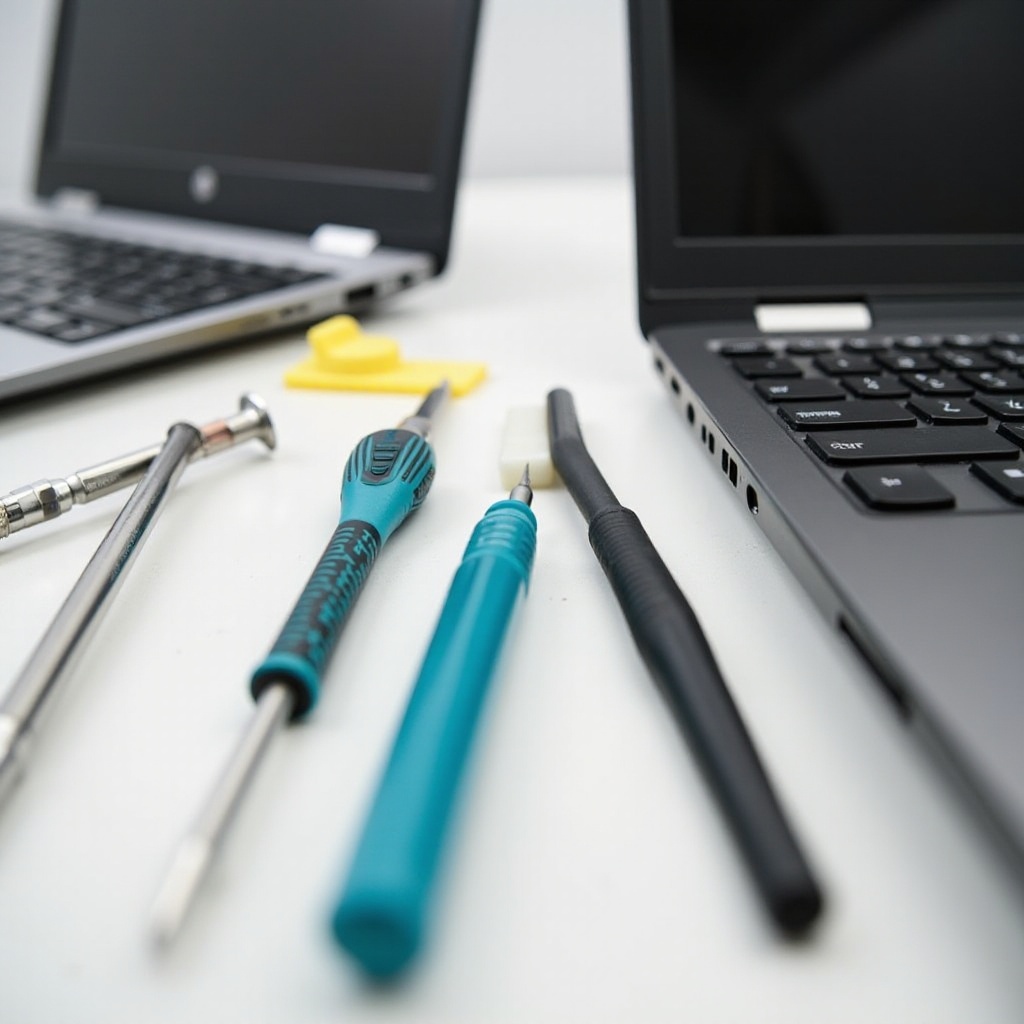
Ensure you have the following tools and materials at hand before beginning your screen repair:
- Phillips and flathead screwdrivers
- Plastic prying tool
- Anti-static wrist strap
- Replacement screen compatible with your HP model
- Clean, lint-free cloth
Equipped with these tools, you’ll be prepared to carry out the repair effectively, saving both time and avoiding damage from using improper equipment.
Step-by-Step Repair Process
Removing the Battery and Preparing the Laptop
- Completely power off the laptop.
- Disconnect all cables and remove the battery.
- Wear the anti-static wrist strap for safety.
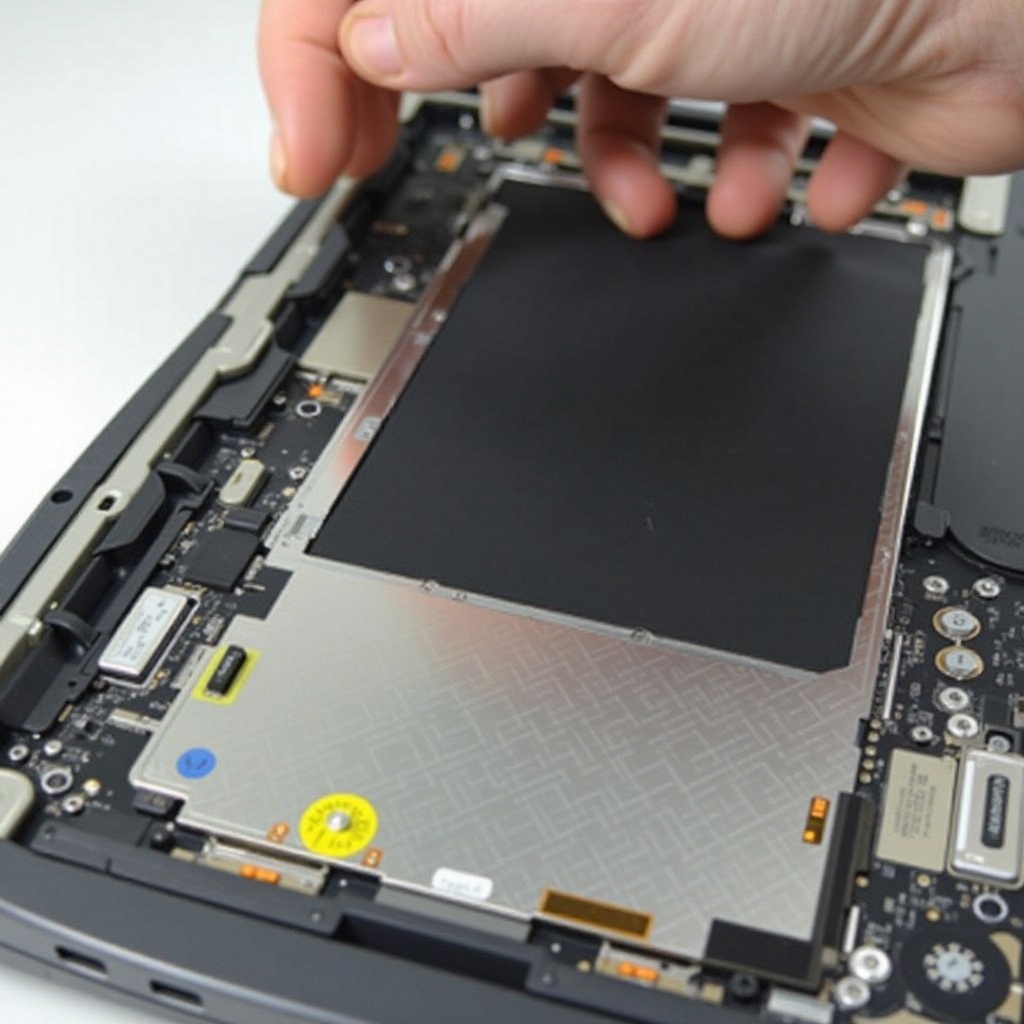
Detaching the Screen Bezel and Damaged Screen
- Identify and remove all screws from the screen bezel.
- Gently use the plastic prying tool to detach the bezel.
- Carefully disconnect the screen from the laptop’s electronics, being mindful of the cables.
Installing the New Screen and Reassembling
- Attach the new screen to the appropriate connectors.
- Place the screen securely back into the frame.
- Reattach the bezel and tighten the screws securely.
- Reinstall the battery and power on the laptop to ensure functionality.
By following these steps carefully, you can achieve a successful screen repair. Ensure each connection is firm and the assembly is well-aligned to avoid future issues.
Testing Your Repaired Screen
After reassembling, power on the laptop to test the new screen. Observe for issues such as flickering or unresponsive pixels. Adjust settings such as the backlight and brightness to confirm that everything is operating smoothly. This verification step ensures that the repair has been successful before you finalize the process.
Troubleshooting Post-Repair Issues
If the screen doesn’t perform perfectly, revisit the steps and check each cable and connection thoroughly. Some issues are caused by incomplete connections or misalignments during installation. Should the problems persist, consider reinstalling graphics drivers or updating your operating system, as software could be another factor.
Tips for Preventing Future Screen Issues
To prolong the life of your repaired screen, adhere to these tips:
- Regularly clean with a microfiber cloth to avoid dust and smudges.
- Prevent placing heavy objects on the laptop.
- Use a protective case during transport.
- Keep your software and drivers updated to avoid compatibility and performance issues.
Adhering to these preventive measures will ensure your laptop screen remains in peak condition, minimizing the likelihood of future issues.

Conclusion
Repairing an HP laptop screen is a challenge that can often be tackled with the right guidance and patience. By identifying the problem, taking necessary safety precautions, and following the repair steps methodically, you can restore your laptop to a fully functional state. Remember to keep your laptop maintained and updated to enjoy a seamless computing experience.
Frequently Asked Questions
How can I tell if my HP laptop screen is physically damaged?
Physical damage typically appears as visible cracks, scratches, or discolorations. If no damage is visible, it might be an internal or software issue.
Is it cheaper to repair or replace an HP laptop screen?
Repairing the screen is often more cost-effective than replacing the entire laptop. Consider repairing it yourself if you have the skills, or consult a professional.
Can a cracked HP laptop screen be fixed without being replaced?
Minor cracks can sometimes be temporarily sealed, but complete replacement is usually necessary for a long-term fix. Deeper cracks need screen replacement.